Camera cages solve the FX3's core weakness by creating a rigid skeleton around the body. This framework delivers immediate stability improvements while opening up dozens of mounting points for monitors, microphones, lights, and follow focus systems. The result is a customizable production rig that adapts to documentary run-and-gun scenarios just as easily as controlled studio environments. Whether you're shooting corporate interviews or independent features, understanding cage selection and rig assembly directly impacts your final image quality and on-set efficiency.
Why Your Sony FX3 Demands a Dedicated Camera Cage
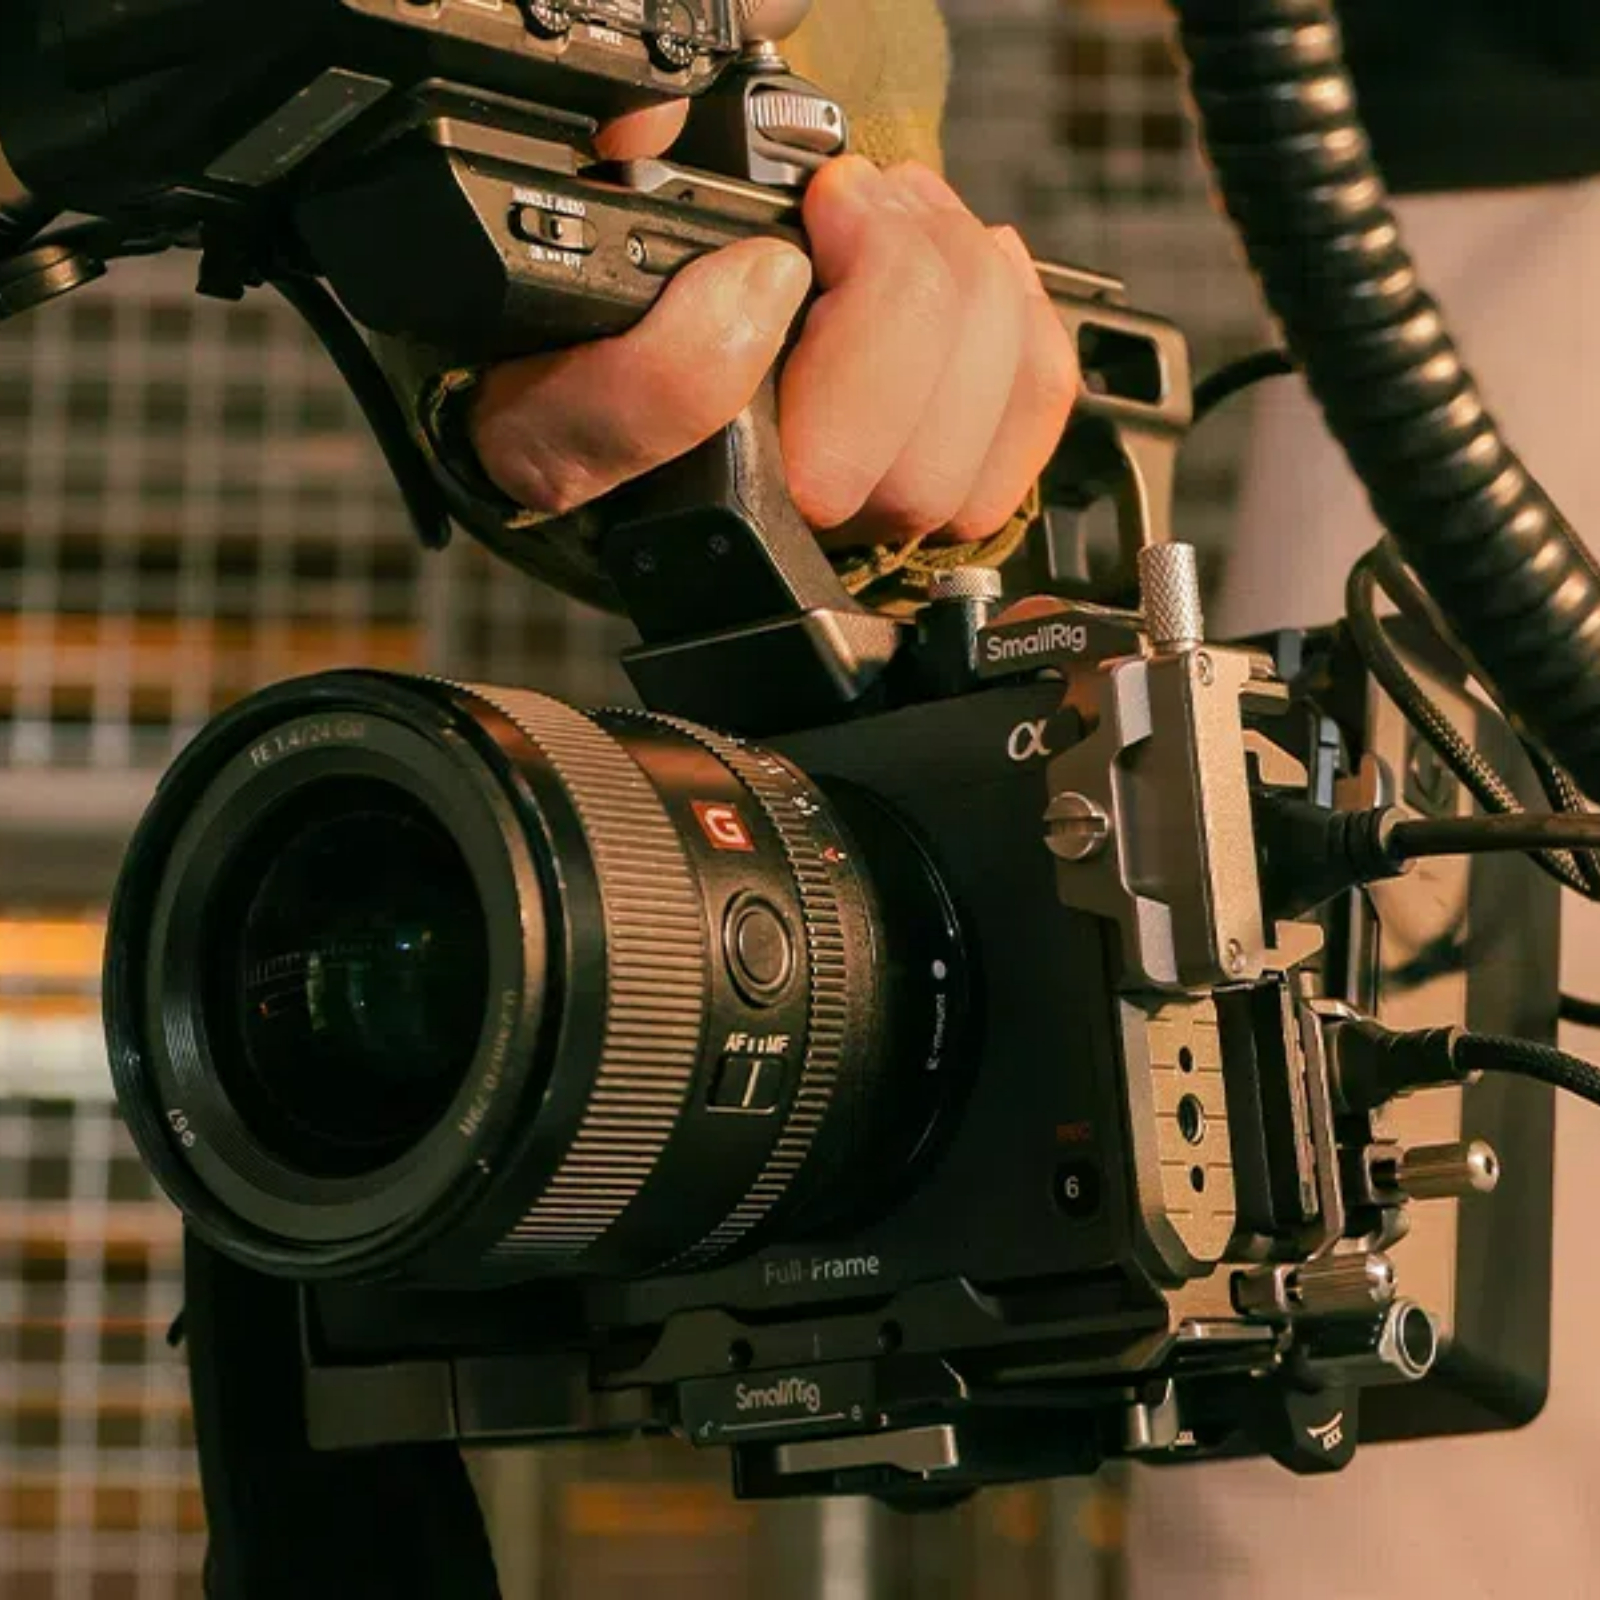
The FX3's compact form factor creates inherent stability challenges during handheld operation. At just 715 grams, the camera body lacks the mass needed to dampen natural hand tremors, resulting in visible micro-jitters that plague gimbal-free shots. Professional cinematographers working documentary-style shoots report consistent frustration when attempting extended handheld sequences without additional support structures.
 Beyond stability, the exposed camera body faces constant risk during location work. A single accidental impact against a doorframe or equipment cart can crack the LCD screen or damage critical port connections. Cages create a protective buffer zone that absorbs these inevitable collisions, effectively adding a safety margin worth thousands in potential repair costs. The aluminum framework shields vulnerable components while maintaining full access to buttons and ports.
The transformative advantage comes through modular expansion. The FX3's native body offers limited mounting points, forcing operators to choose between essential accessories. A quality cage adds twelve to sixteen threaded attachment points across multiple planes, enabling simultaneous mounting of monitors, shotgun microphones, wireless transmitters, and focus motors. This transforms a basic camera into a complete production system. Without this foundation, filmmakers face the impossible choice between audio quality and visual monitoring, or abandon critical tools entirely when shoots demand mobility.
Choosing Your Ideal Sony FX3 Cage
Material and Build Quality Comparisons
Aluminum alloy cages dominate the professional market for good reason. These constructions typically weigh between 150-250 grams while withstanding significant impact forces, striking the balance cinematographers need for all-day shoots. The anodized surface resists scratches and corrosion during outdoor work, maintaining structural integrity through years of location abuse. Steel cages offer superior durability but add 100-150 grams of unnecessary weight that compounds fatigue during extended handheld sequences. Composite materials remain experimental, prone to stress fractures at mounting points under heavy accessory loads.
 When evaluating build quality, CNC-machined precision ensures consistent thread alignment across production runs. Look for cages with chamfered edges that prevent snagging on clothing and gear bags, a subtle detail that matters during fast-paced documentary work. Lesser-known manufacturers often cut costs through casting processes that create weak points in critical stress areas. Inspect any cage for uniform wall thickness and smooth threading before committing to a purchase.
Compatibility and Mounting Systems
FX3-specific cages provide custom cutouts for the camera's unique button layout and ventilation ports, eliminating the clearance guesswork universal designs require. These tailored frames maintain access to the LCD flip mechanism and battery door without tool-based disassembly. Universal DSLR cages force compromises, often blocking the record button or requiring cable rerouting that adds failure points.
Examine cold shoe quantity and placement before purchasing. Professional rigs demand a minimum of three cold shoes positioned on top and both sides for simultaneous monitor, microphone, and wireless receiver mounting. NATO rails on the sides enable quick-release handle attachment without occupying precious threaded holes. Look for cages offering 1/4"-20 and 3/8"-16 threaded points in clusters, allowing precise accessory positioning. The quick-release baseplate should use industry-standard Arca-Swiss or Manfrotto patterns for instant tripod transitions.
Step-by-Step Monitor Rig Assembly Guide
Securing the Cage to Your FX3
Begin by removing the FX3's battery and all attached accessories to prevent accidental button presses during installation. Loosen the cage's baseplate screw completely, then slide the camera body into the frame from the rear, aligning the tripod mount with the baseplate's 1/4"-20 threaded hole. The cage should sit flush against the camera's bottom without gaps that indicate misalignment. Use a hex key or coin-slot screwdriver to tighten the baseplate screw firmly, checking that the camera doesn't shift when applying moderate lateral pressure. Verify all ports remain accessible and the battery door opens fully before proceeding. A properly secured cage should feel like a single rigid unit with zero play between components.
Integrating Monitor Mounts
Position your monitor mount on the cage's top cold shoe or NATO rail, placing it slightly forward of center to counterbalance rear-mounted batteries. The screen should angle toward your operating position at approximately 45 degrees, allowing clear viewing without neck strain during waist-level shots. For monitors exceeding 500 grams, use articulating arms with locking joints rather than ball heads that drift under weight. Route HDMI cables along the cage's left side using cable clips at two-inch intervals, creating a service loop near the camera port to prevent strain during panning movements. Secure excess cable length with velcro straps rather than zip ties that require cutting for field adjustments. Test the full range of monitor articulation to ensure cables don't pull taut at extreme angles.
Balancing Accessory Loadouts
Front-heavy rigs cause wrist fatigue within twenty minutes of handheld operation. After mounting your monitor and microphone, hold the assembled rig at its intended grip point and assess whether the weight tilts forward. Add counterweight to the rear NATO rail or attach a V-mount battery plate that doubles as ballast. Quick-release systems become essential when transitioning between tripod interviews and handheld B-roll. Install an Arca-Swiss compatible baseplate that slides off in under three seconds, eliminating the fumbling that causes missed shots during documentary work. For gimbal compatibility, create a secondary lightweight configuration by removing the top handle and side-mounted accessories, keeping only the essential monitor and microphone. Mark your preferred mounting positions with paint pen dots to enable rapid reconfiguration between setups.
Essential Camera Accessories for Professional Rigs
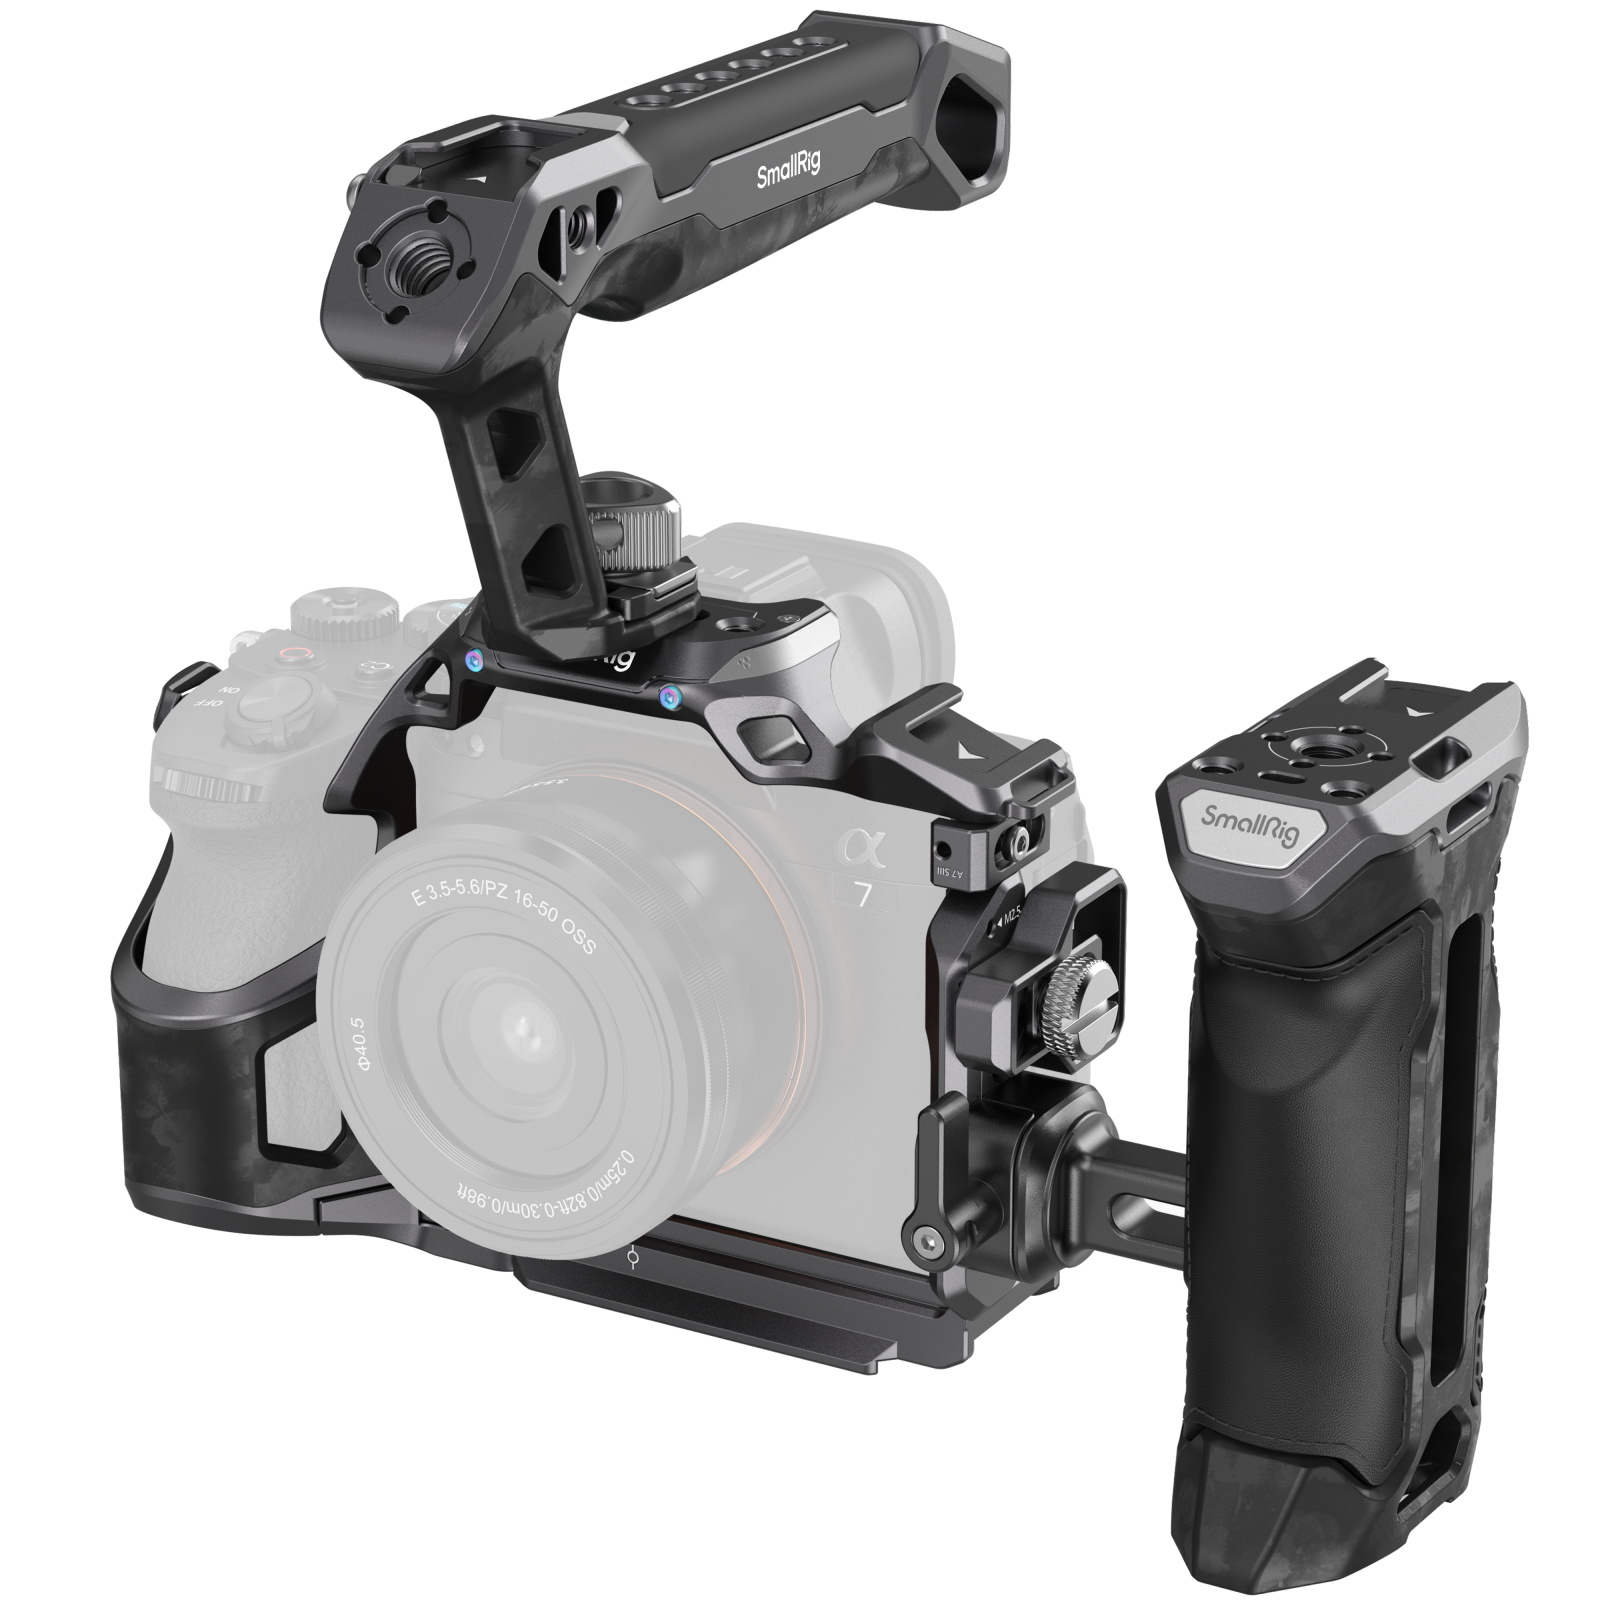
Top handles transform the FX3 from a camera into a controlled instrument. NATO rail-mounted handles provide instant grip access during transitions from tripod to handheld, with rubberized surfaces preventing slippage during humid outdoor shoots. Position handles directly above the camera's center of gravity to maintain natural balance, avoiding forward placement that creates wrist strain during extended takes. Wooden handles offer superior comfort for all-day documentary work compared to bare aluminum that conducts cold and vibrates noticeably.
Follow focus systems elevate production value by enabling smooth rack focus pulls that separate professional work from amateur footage. Cage-mounted focus motors attach via 15mm rod systems that extend from threaded mounting points on either side of the frame. Wireless units eliminate cable clutter for gimbal work, while mechanical systems provide tactile feedback preferred during narrative filmmaking. Ensure your cage offers multiple rod mounting heights to accommodate different lens diameters without vignetting.
External shotgun microphones require shock-mounted cold shoe adapters positioned above the lens axis to capture clean dialogue while minimizing handling noise. The cage's top rail should accommodate microphones up to 250mm in length without blocking monitor visibility. For interview-heavy work, consider dual cold shoes that support both a shotgun and wireless receiver simultaneously, eliminating the audio-versus-monitoring compromise. Power distribution becomes critical when running monitors, focus motors, and wireless transmitters concurrently. V-mount battery plates attached to the cage's rear NATO rail provide 14.8V output through multiple D-Tap ports, delivering eight-hour runtime that eliminates mid-shoot battery swaps. Side handles mounted to the cage's vertical rails create two-handed stability for low-angle shots and stair navigation, with adjustable rosette joints that accommodate different hand sizes and shooting postures.
Advanced Stability and Versatility Techniques
Harmonic vibration plagues telephoto work even with properly balanced rigs. Rubber dampening pads inserted between the cage and camera body absorb high-frequency oscillations that create visible image shake at focal lengths beyond 85mm. Install 2mm neoprene washers beneath the baseplate mounting screw and at contact points where the cage touches the camera body. These absorbers cost under ten dollars but eliminate the subtle judder that ruins otherwise sharp footage during stationary shots.
Modular thinking separates adaptable operators from those constantly renting specialized gear. Maintain three distinct configurations: a minimal cage-only setup for gimbal work weighing under 1.2kg total, a mid-weight handheld rig with monitor and microphone for documentary shoots, and a full studio build incorporating follow focus and wireless systems. Store each configuration's screws and accessories in labeled pouches that enable five-minute transitions between shooting styles. This approach eliminates the compromise of carrying unnecessary weight or leaving critical tools behind.
Shoulder pad integration converts handheld rigs into stable platforms for extended takes. Mount 15mm rods extending rearward from the cage's lower mounting points, attaching a padded shoulder brace at a 30-degree downward angle. This distributes weight across your shoulder and chest rather than concentrating stress in your wrists and forearms. For gimbal compatibility, design low-profile configurations by removing top handles and replacing side-mounted accessories with compact alternatives. Route all cables through spiral cable wraps anchored at three points along the cage, preventing snags during bag storage and rapid deployment. The wrap wrap system allows cable removal without cutting ties when swapping accessories between locations.
Building Your Complete FX3 Production System
The camera cage forms the non-negotiable foundation of any serious Sony FX3 production rig. Without this structural framework, filmmakers face constant battles with instability, limited accessory options, and vulnerability to equipment damage that threatens both shoot schedules and budgets. The right cage transforms the FX3 from a capable camera into a complete cinema system.
Successful rig building follows a clear progression: select a cage matching your shooting style and weight tolerance, secure it properly to eliminate any movement between components, then methodically add accessories while maintaining balance. Monitor placement dictates viewing comfort, microphone positioning ensures clean audio capture, and strategic cable management prevents the failures that derail professional shoots. Each mounting decision should consider both immediate functionality and future adaptability as your production needs evolve.
The stability improvements and accessory integration a proper cage provides directly elevate your production value. Clients notice the difference between shaky handheld footage and smooth, controlled camera movement. Invest the time to build a thoughtful rig configuration, and your Sony FX3 will deliver the cinema-quality results it was engineered to produce. Start with the cage, add components strategically, and watch your footage quality transform.